Cloud Connector Plus
Installation
Installation
MSI file
You can run an installer to install Cloud Connector Plus
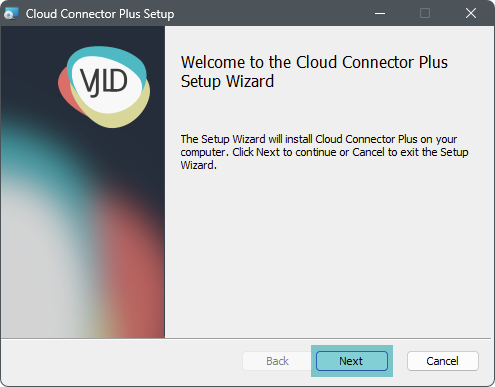
Installation wizard
First you will see the wizard welcome window, press "Next" to continue
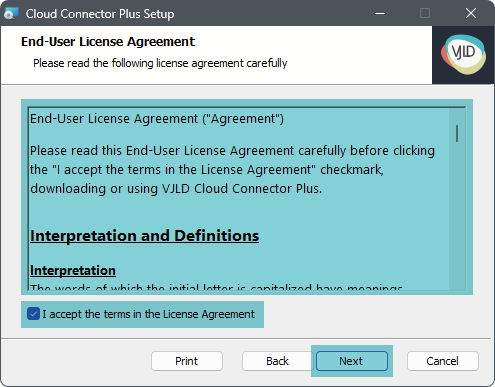
Read carefully the end user agreement and accept it to continue
Keep default installation path or customize it

Now you are ready to install Cloud Connector Plus

Installation is complete

Installer automatically placing a shortcut on desktop to the backend

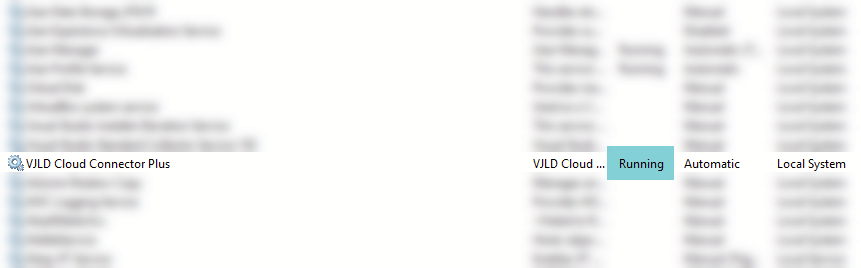
Service
Verify that the service is running
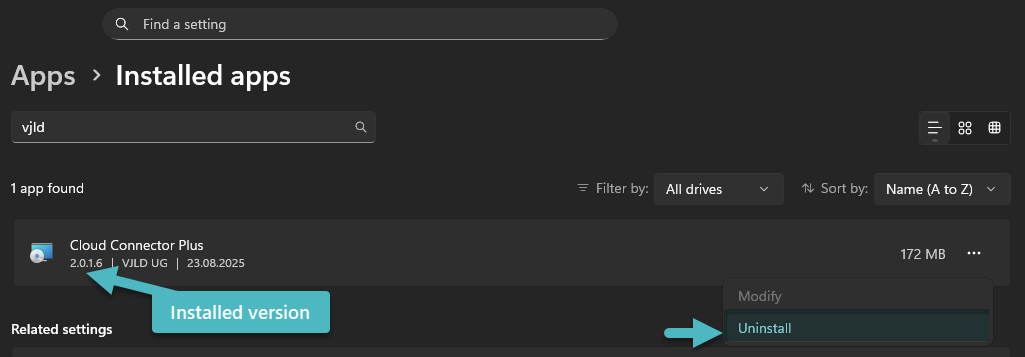
Uninstall
You can uninstall Cloud Connector Plus at any time
Setup Wizard
Backend
Service
Please check if Cloud Connector Plus service is running. Maybe you've to assign different user to delegate more privileges.
Access
You can access backend by using your prefered browser navigation to localhost and default port 8018.

You can access the backend by running shortcut on your desktop

Wizard
Welcome
First page should show you a welcome message

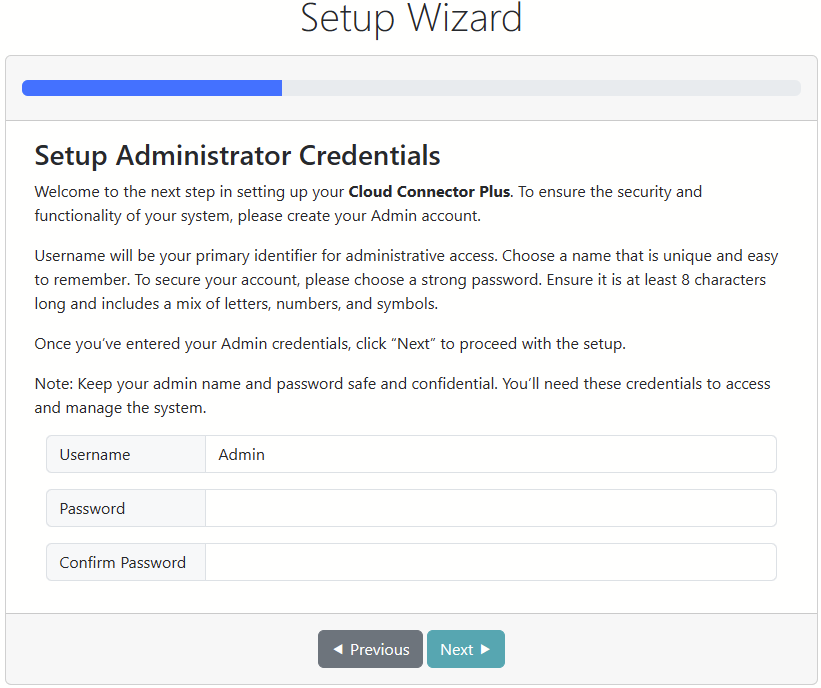
Administrator Account
Next page will guide you to create an administrator account. Please enter account name and password
Create first API key
Define your first API key
- Name - Provide unique name
- Description - Your individual description for this API key
- API Key - Will be generated automatically

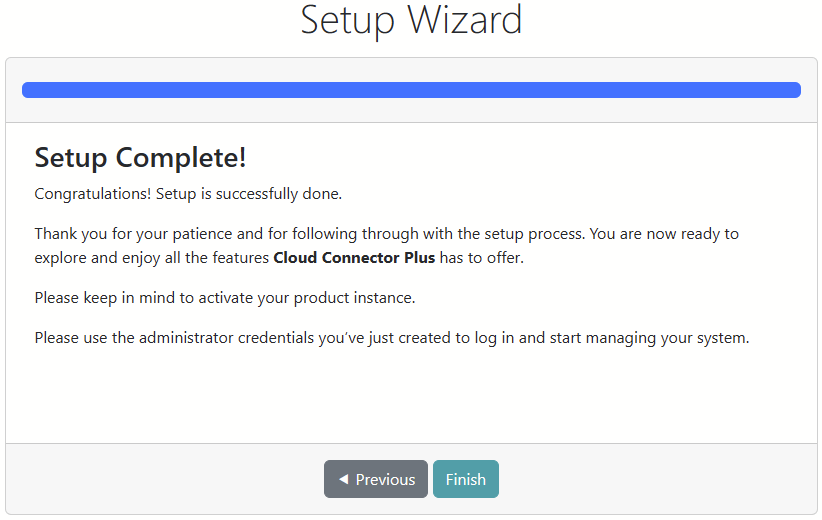
Finish
Finalize the setup and keep in mind to activate the product, also when you want to use the trial version
Login
Enter your administrator account

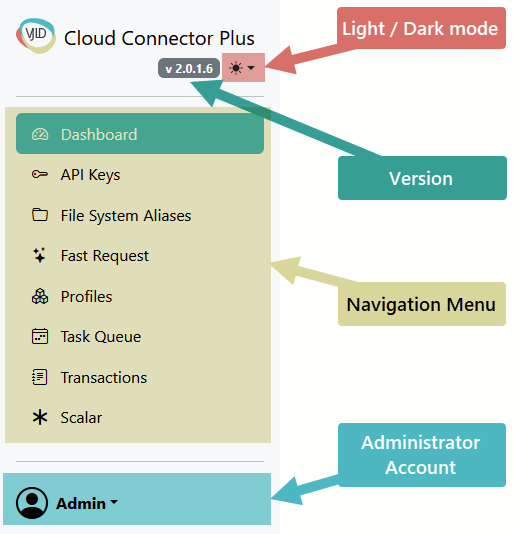
Navigation
General
Areas
- Version
- Dark/Light mode switch
- Navigation menu
- Administrator Account menu
Dashboard
Dashboard is providing you KPI and shortcut access to specific area

API Keys
What are API Keys
Purpose: Authenticate every API call. The key is created in the Setup Wizard and later selectable in the Admin UI. Every execution is recorded with the API key in Transactions when logging is enabled.
Usage: Include header x-api-key on every request. Missing/invalid keys return 401.
API Keys is a simplified anonymous authentication against Cloud Connector Plus service.
Navigation Menu

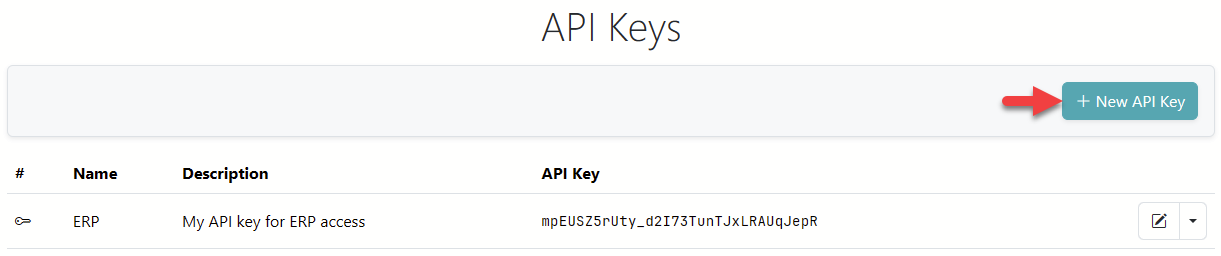
API Keys list view
API List view providing you an overview about all created API Keys. As default key you should see the API Key from wizard setup.

Create new API Key
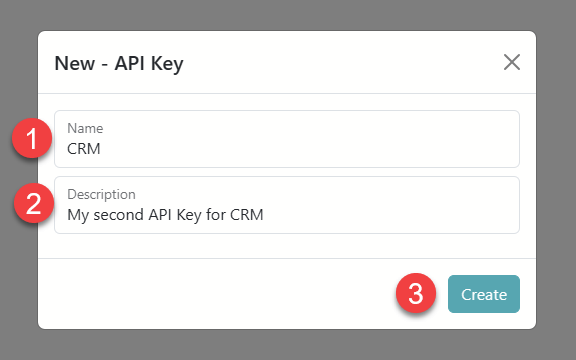
You can create new API Key by pressing "+ New API Key" button
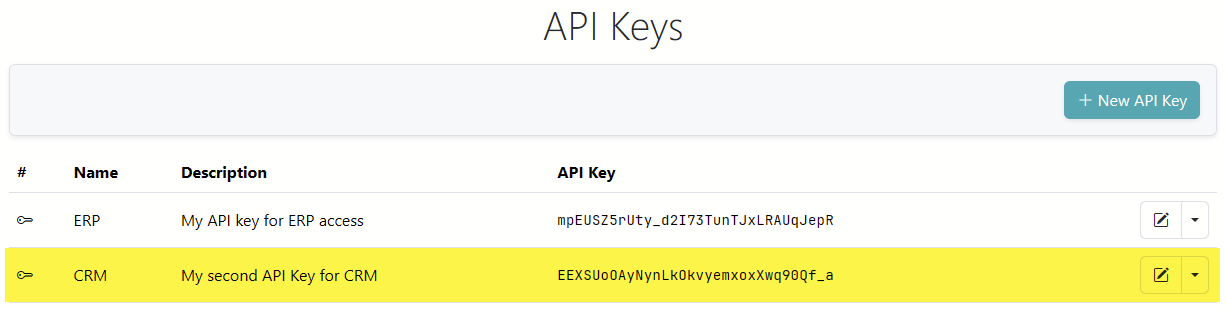
It will open a pop up dialog. Please assign Name and Description for new API Key an press "Create"
New API Key will appear in API Key List View
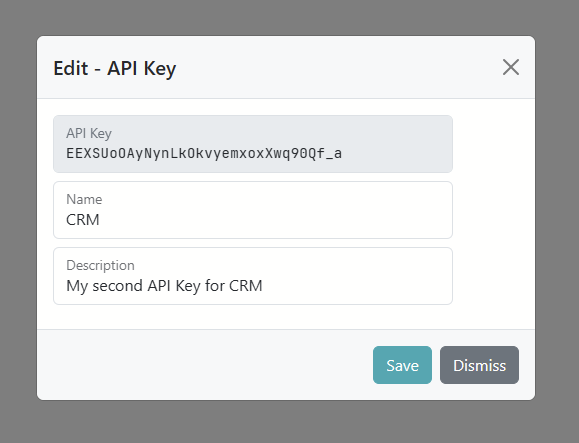
Edit API Key
You can edit API by executing "Edit" quick action or "Edit" action.

You can rename the API Key or change Description
Copy to Clipboard
You can copy API Key by using an action

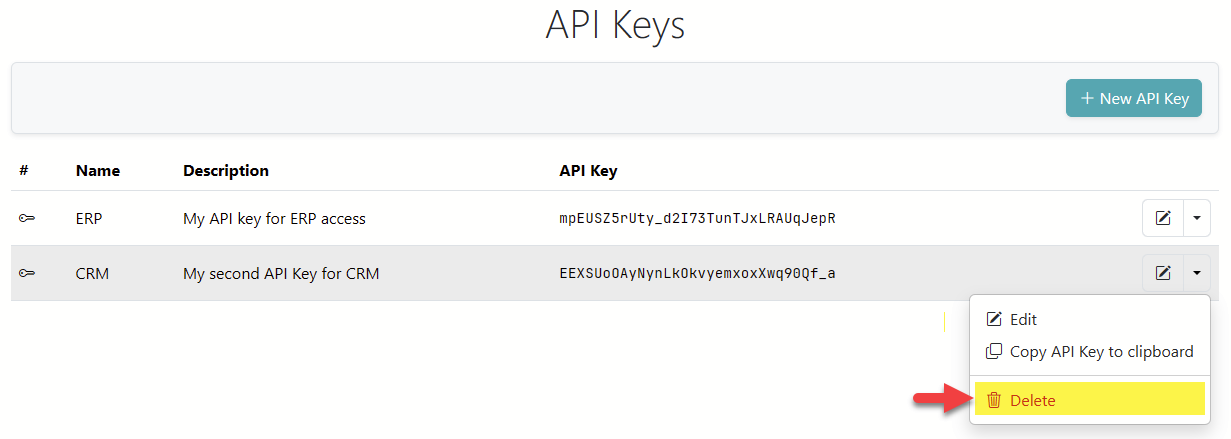
Delete API Key
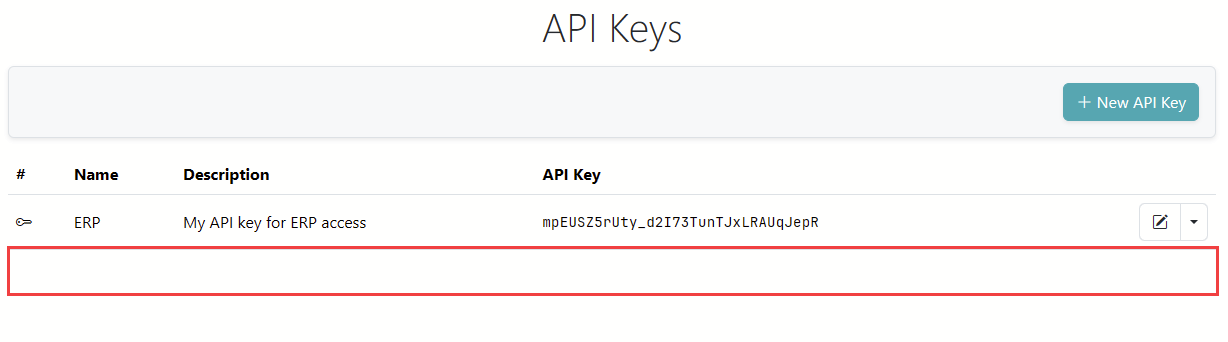
You can delete any API Key at anytime
It will disappear from the list
File System Alias
Fast Request
Purpose: UI to quickly craft, test, and save adapter requests without coding. Select an adapter, fill fields, preview the JSON request, execute immediately, or save as a Profile.
Profiles
Purpose: Reusable, named execution templates for any adapter. Profiles can contain placeholders like ${OrderId} and declare ProfileQueryParameters with default/mandatory flags. At runtime, placeholders are replaced from query or header values.
Execution: GET /api/v1/executeProfile?profile=<ProfileKey> with x-api-key (header or query). Parameters can be passed as ?OrderId=123 or via headers.